
How to Apply IIID Foundation

“Art has no rules.”
Makeup is an artform without “rules”. There is no “right” or “wrong” way to apply your makeup. Trends & fads come and go, but enhancing your natural beauty will always be timeless. The key is to find the method that works best for you and your skin & face. In order to help you find a starting point, here we will discuss simplified methods that are effective and easy to understand for most people.
THE FUNDAMENTALS
What is IIID Foundation?
Seint IIID Foundation is a customizable dimensional cream-based makeup designed to be multi-purpose, fast, and functional.
Makeup that defines your unique features with a radiant skin-like finish to enhance the natural beauty of your skin.
Instead of applying traditional foundation all over your face to make it all one color, then adding layers of contour, bronzer, blush, etc. to bring dimension and color back to your face (lots of product layering resulting in more makeup texture on the skin, and so time consuming!)…
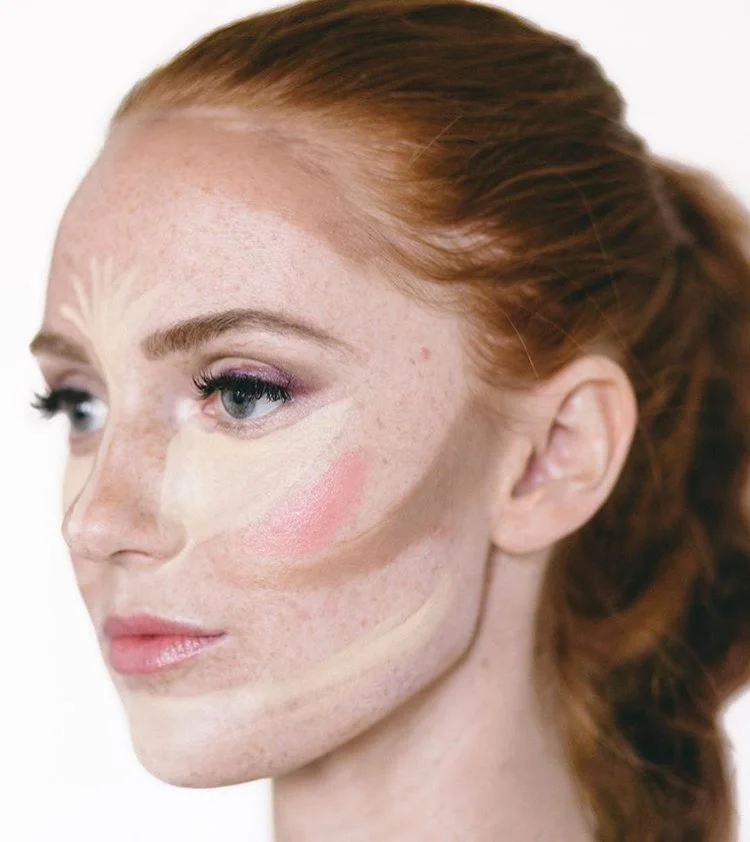
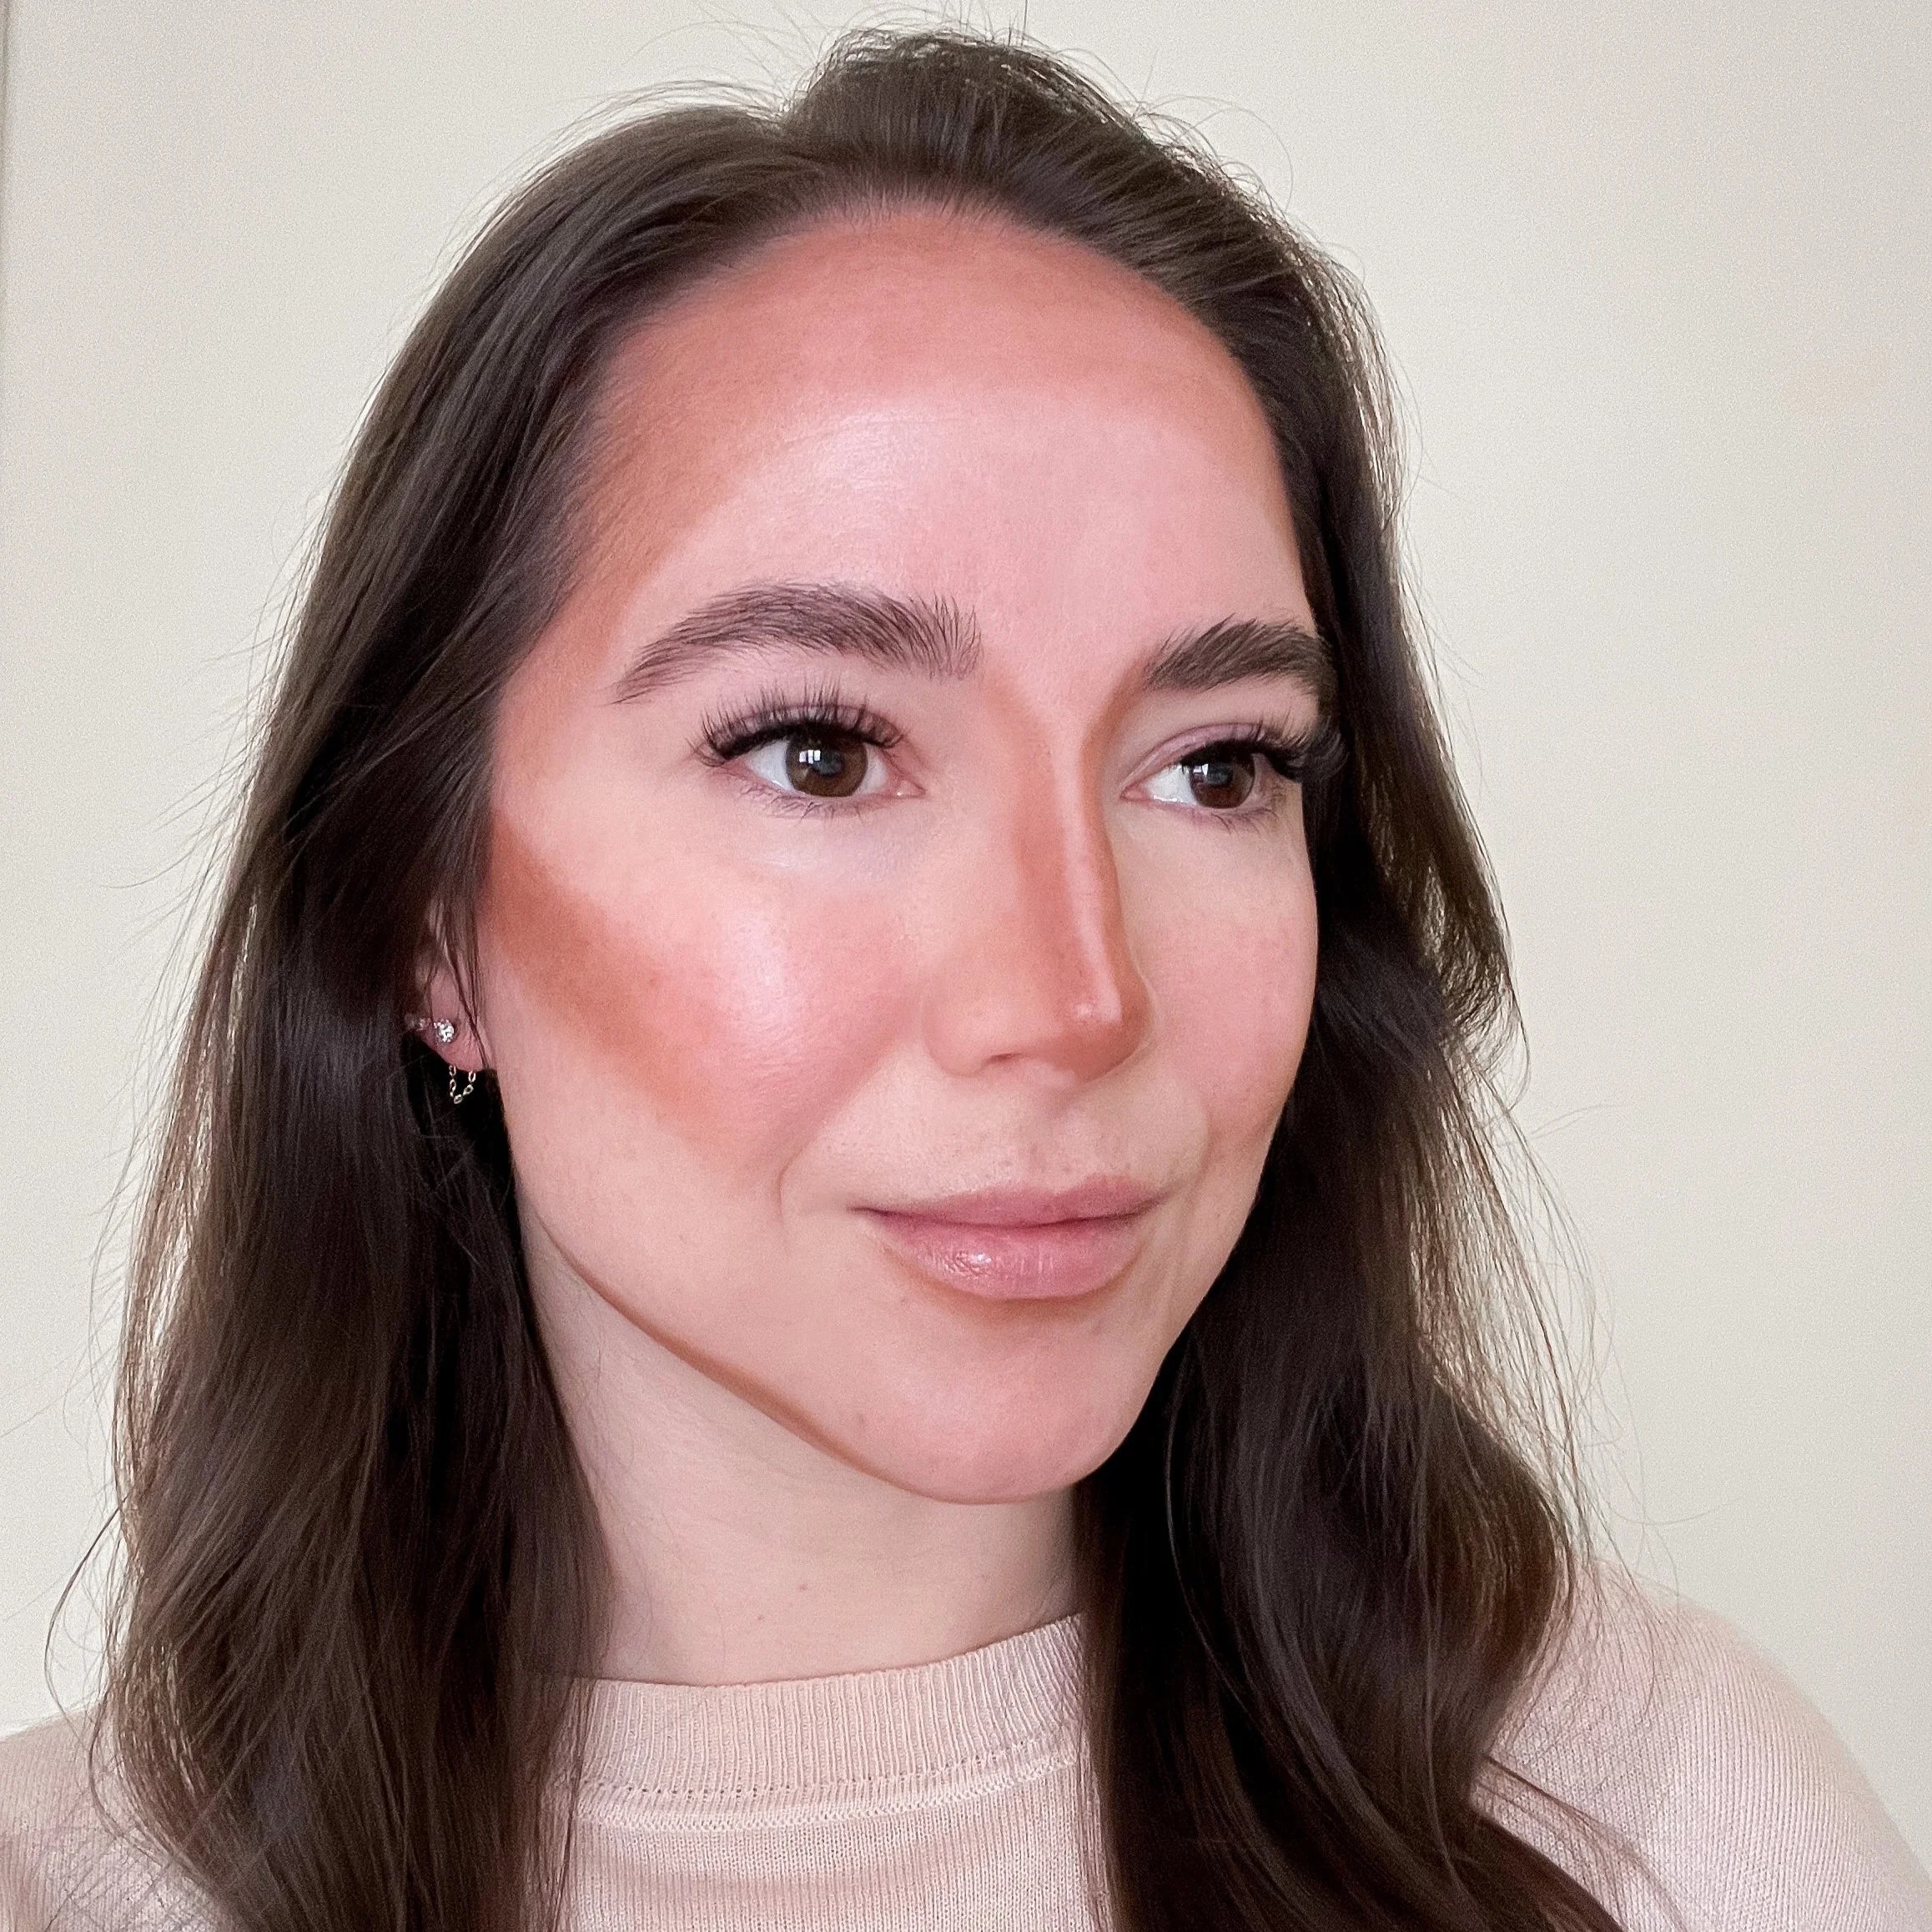
IIID Foundation works like paint-by-numbers on your face. Just place your Highlight, Contour, and blush where you want them on your face and blend! One layer of makeup for a natural, dimensional look.
IIID Foundation Components

Highlight
aka “Foundation” - This makeup shade most closely matches your overall skin tone and offers all-over coverage.

Contour
This is also a part of your “foundation”!
Contour mimics a natural shadow on your face to accentuate your features and add dimension.

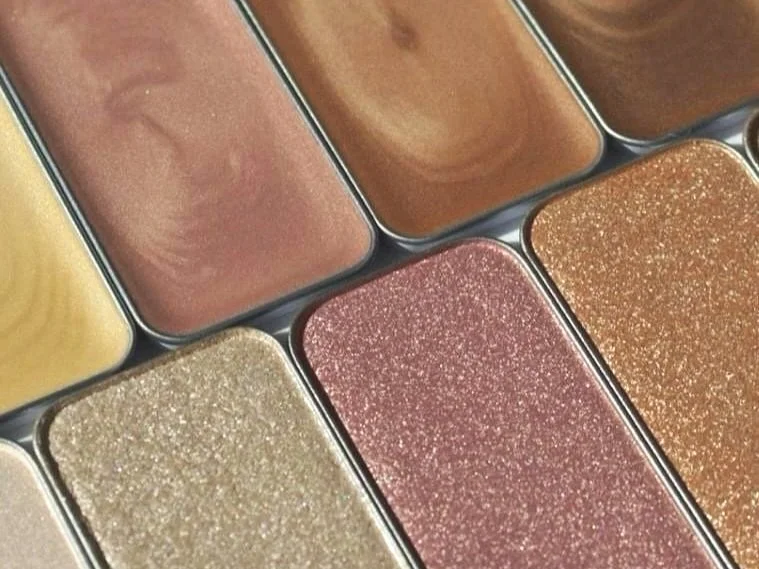
Lip + Cheek
These cream makeup shades in satin matte, semi-gloss, or glossy finishes add a healthy flush to your cheeks and lips.
Illuminator
Cream and powder formulas to add that radiant candlelit glow to your skin.
STEP-BY-STEP APPLICATION
Color Placement
IIID Foundation works like paint-by-numbers on your face. Just place each shade of makeup where you want them on your face and blend! One layer of makeup for a natural, dimensional look.

Contour
This is also a part of your “foundation”! Contour mimics a natural shadow on your face to accentuate your features and add dimension.
Places you can apply this shade:
Under the cheekbones
Perimeter of forehead, along hairline
Sides of the nose
Underneath jawline
Underneath bottom lip

Brightening “Accent” Highlight
aka “Concealer” - This makeup shade can be used to add light and brighten the center of the face.
Places you can apply this shade:
Under the eyes
Inner corners of eyes
Browbone
Center of forehead in between eyebrows
Down the center of the nose
Center of chin
Cupid’s bow of upper lip
Highlight
aka “Foundation” - This makeup shade most closely matches your skin tone and offers all-over coverage.
Apply this shade along the jaw, around the mouth & chin, and forehead. Basically, anywhere that’s left! Fill in the blanks. (You can leave the cheeks bare because the next step is blush.)

Lip + Cheek
These cream makeup shades in satin matte, semi-gloss, or glossy finishes add a healthy flush to your cheeks and lips!
Apply to the apple of the cheek and blend upward toward the temples.
Can also be used to add color to the lips!

Blend!
Using a brush or Perfector Sponge, blend the edges of each color into each other.
TIP: Don’t overblend. Don’t swirl the colors together - this will just create one shade all over the face and the dimension you created will be lost.
Start blending the lightest shade, then the darkest.
It can be helpful to stipple/bounce your brush to blend gently for an airbrushed appearance.
Application Technique
Pick up a light amount of product on your brush. Only a small amount is needed. Light layers! Press the brush into the skin to distribute the product over an area before blending.
Once product is applied to the skin, blend (with your brush or a dampened Perfector Sponge) into an even layer!
To blend seamlessly and avoid streaks, bounce/stipple your brush over the skin or use a fluffy brush in light circular motions. Blend gently without swirling all the colors together, or you will lose the definition! Blend just the edges of the color so there are no obvious, visible lines on your face.
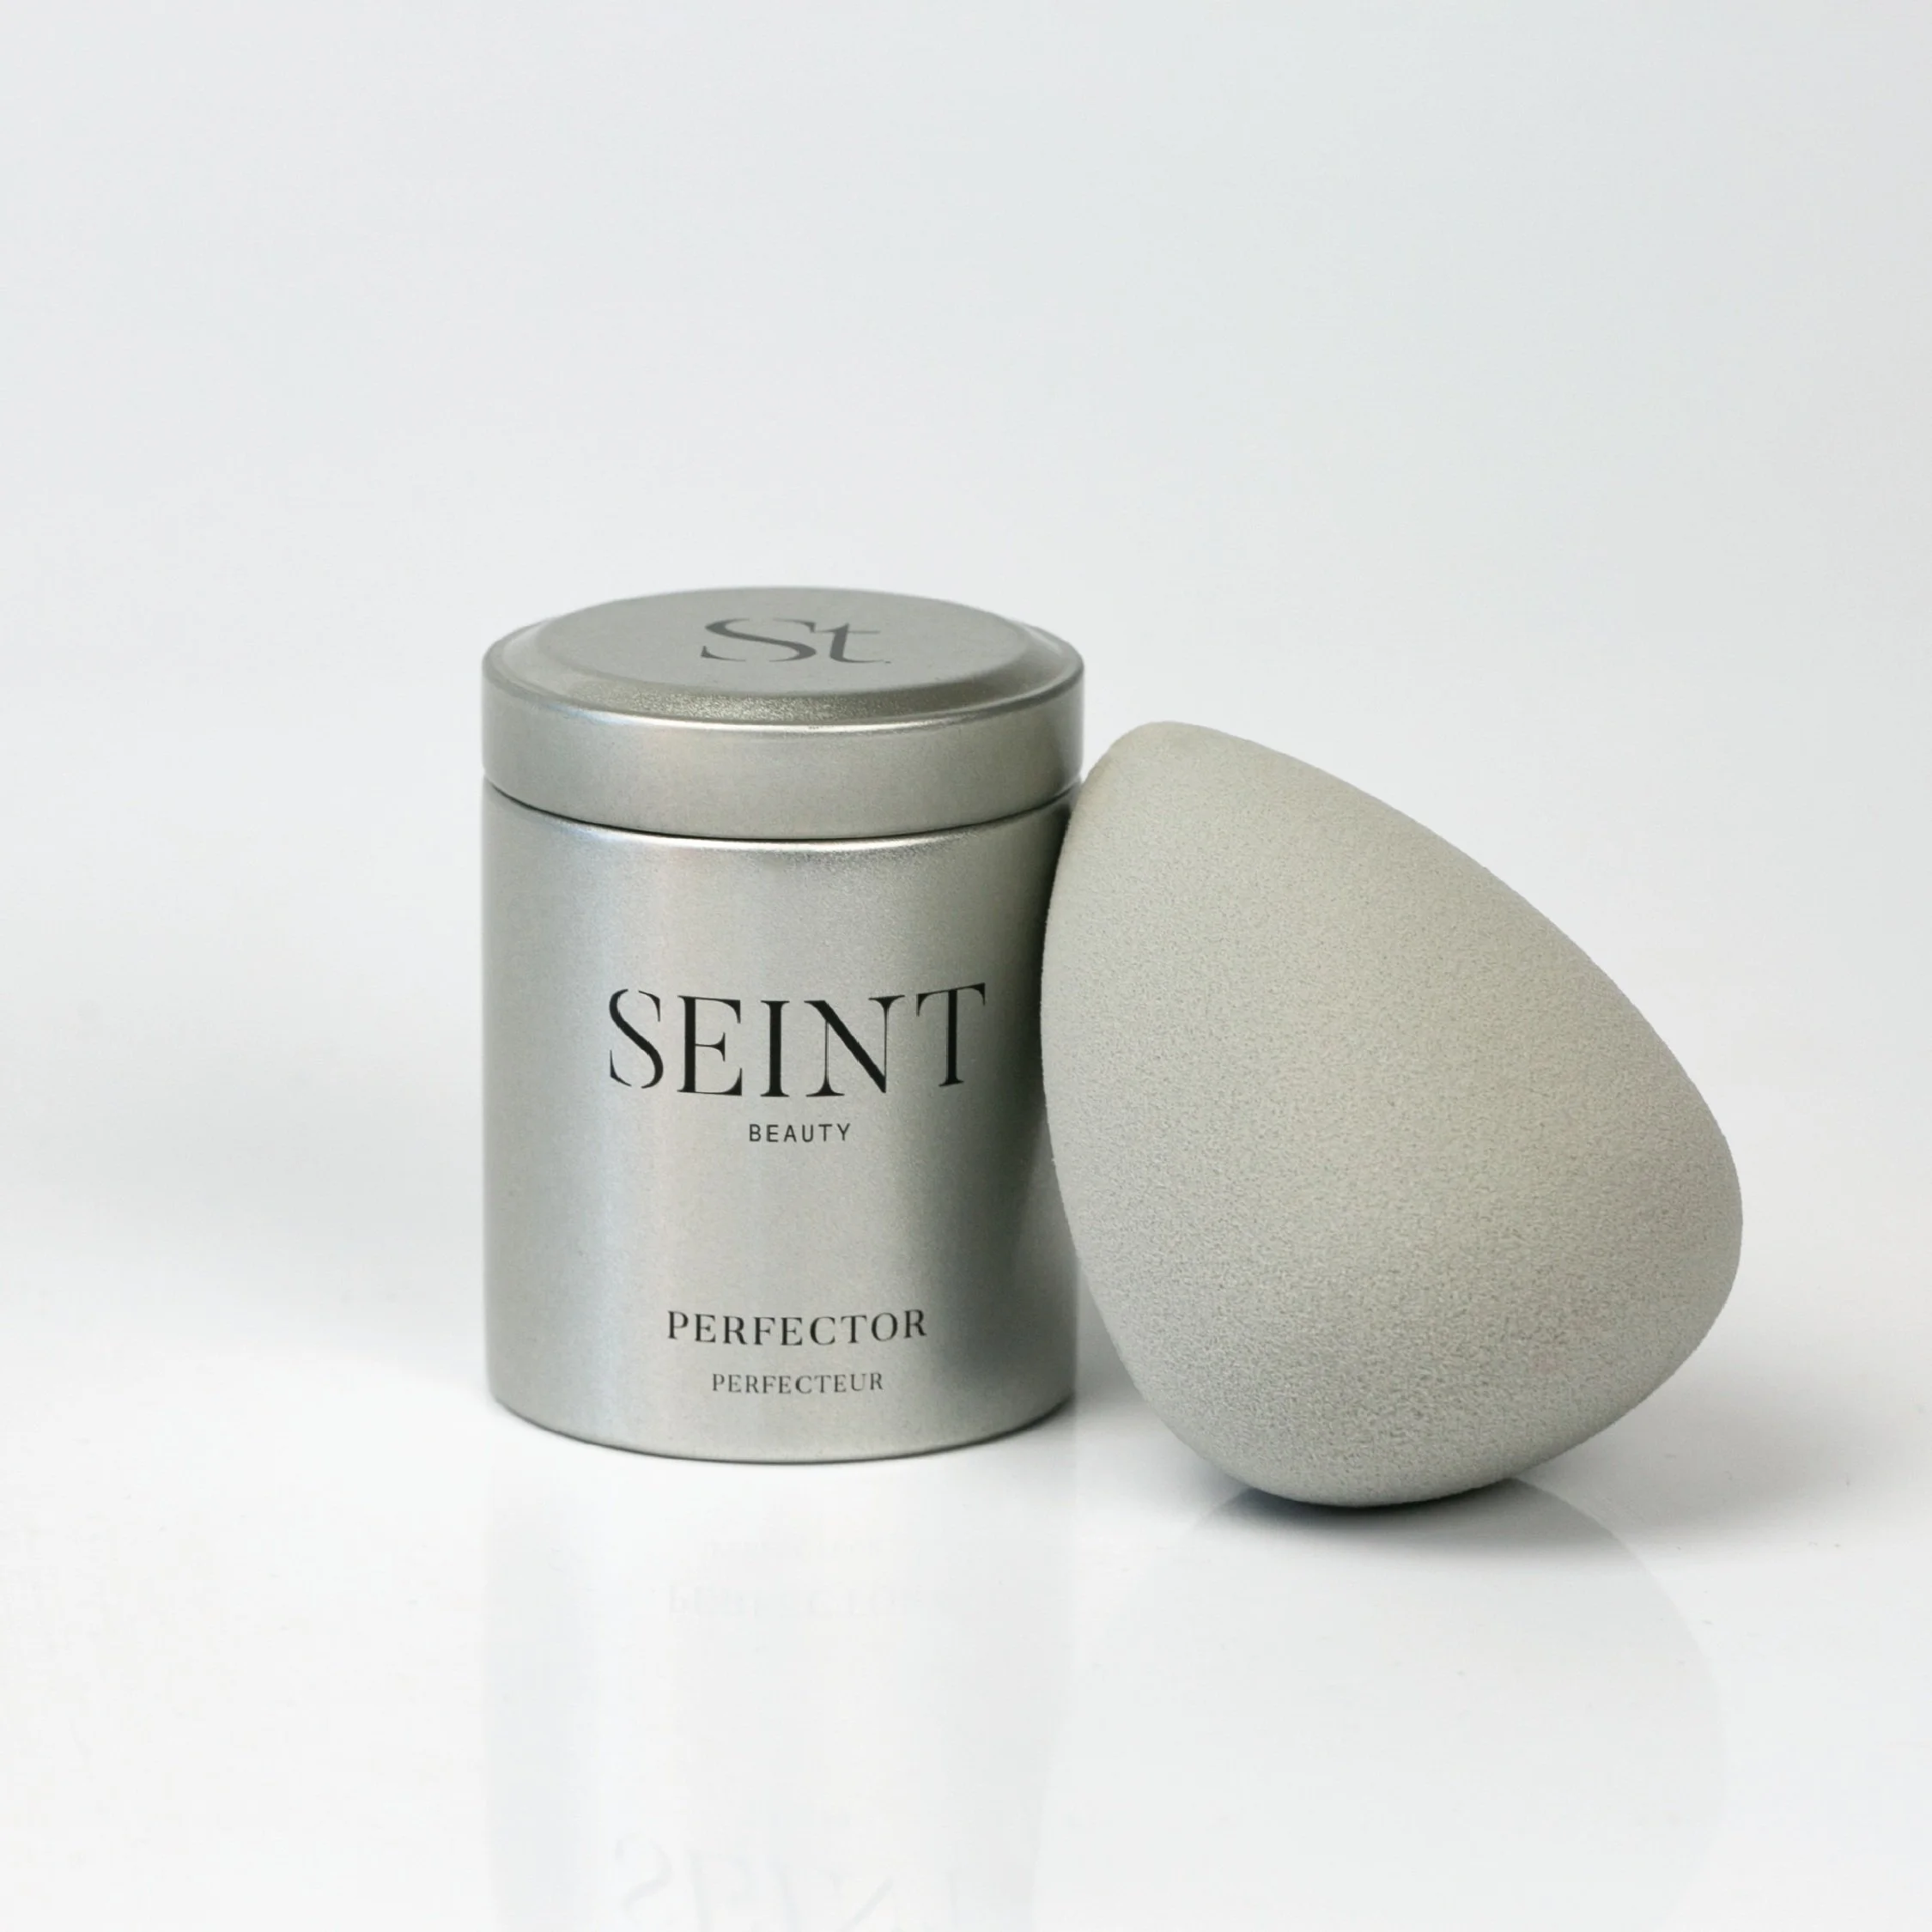
Perfector Sponge
The Perfector Sponge can be used to blend your IIID Foundation for a flawless finish.
Before using - get your Perfector Sponge wet, then squeeze out excess water. Why this is important:
Water causes the sponge to swell, ensuring your makeup won’t be absorbed which results in less makeup waste.
The plump sponge and moisture distribute the makeup in an even layer for a smooth appearance.
Finishing Touches
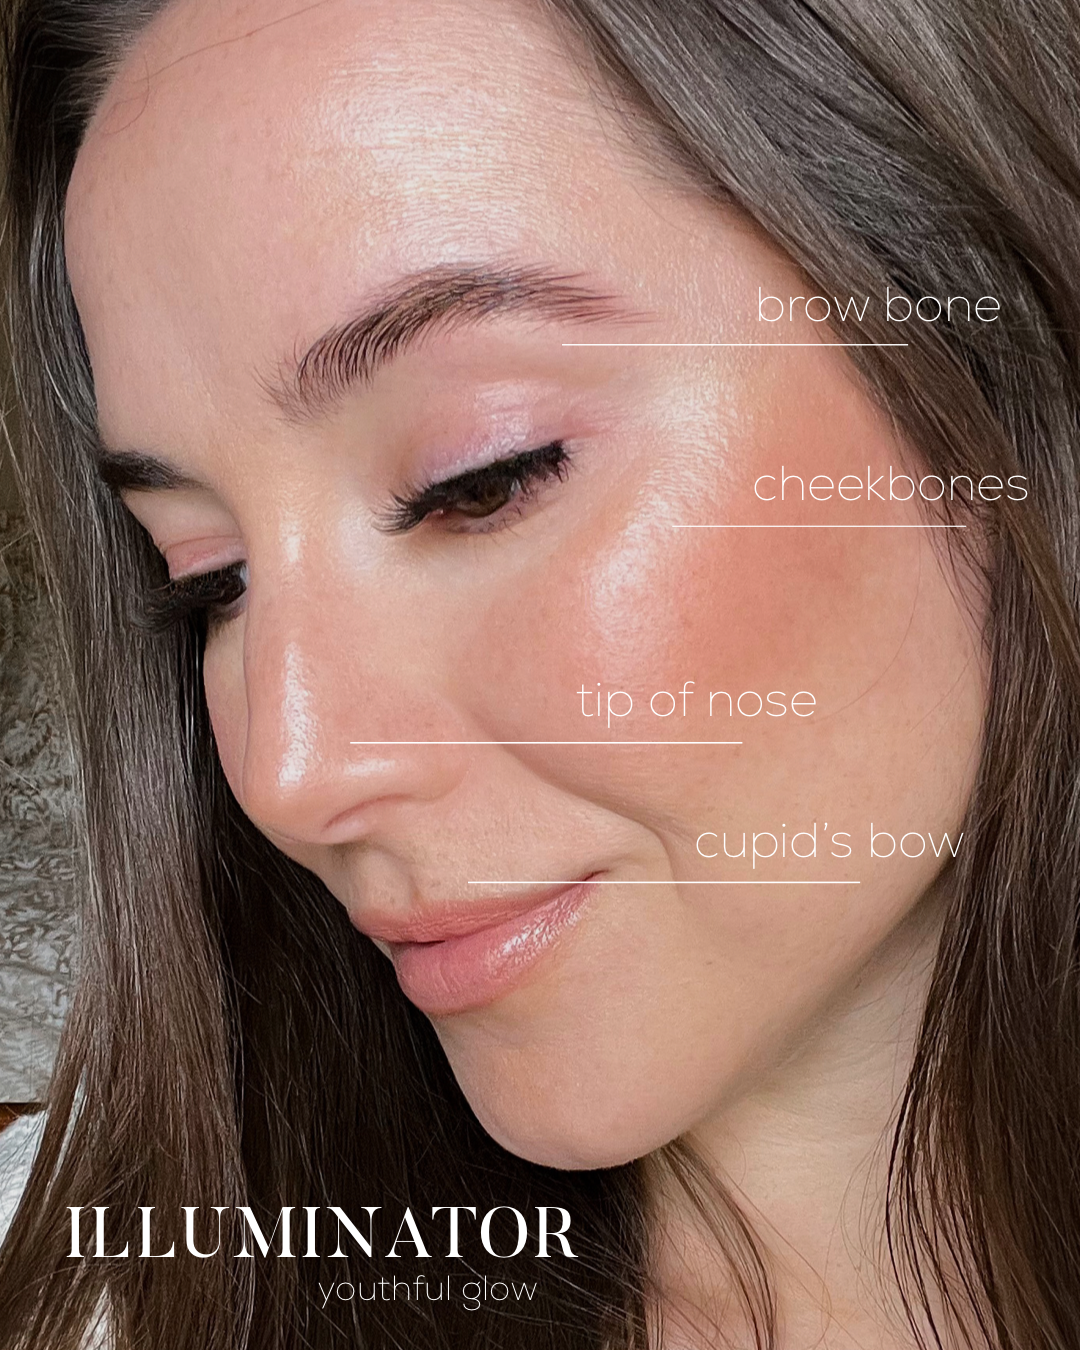
Illuminator
Cream and powder formulas to add a radiant candlelit glow to your skin.
Apply with a brush or with your fingertip.
Places to apply Illuminator:
Tops of the cheekbones
Tip of the nose, down center of nose
Cupid’s bow of the upper lip
Brow bone, inner corners of eyes

Setting Powders
These powders can be used to reduce shine, prevent creasing, and encourage makeup longevity. Apply by dusting over areas that tend to get shiny throughout the day, and areas that need extra setting power.
The Powder Brush is exceptional! I like using the angled end to press the powder into the skin.
Vanilla Dust Setting Powder - a fine translucent powder that creates a more traditional “matte” finish.
Feather Blotting Dust - an ultra-fine weightless powder that provides a natural sheen and blurs and minimizes the appearance of fine lines and pores.

Setting & Priming Sprays
These products can be used to prep skin and “lock-in” your application for a longer-lasting, skin-like makeup look.
After applying your makeup, hold the bottle 12-15” away from your face and spray in an “x” motion.
Did you apply too much, or you feel like your face is wet?? GOOD, lol. It will work better. You can use a damp Perfector Sponge to even out the spray and press into the skin, or fan your face until it dries.
Plush Prep Mist - a moisturizing caffeine-infused mist enriched with hyaluronic acid, glycerin, and botanical extracts that primes, sets, and refreshes your complexion.
Fixate Setting Spray - Seint’s traditional setting spray infused with coconut water and aloe vera to soothe, hydrate, and balance your complexion while setting your makeup.
Tips & Tricks
A little goes a long way! Using too much product can look cakey, and can slide around and crease throughout the day. Not to mention, using too much product will also make you run out of makeup faster! Apply in light layers.
Skin first, makeup second. Healthy skin is important for a beautiful makeup application. Make sure you’re exfoliating and moisturizing regularly. If you need help creating a healthy skincare routine, I like the Seint Skincare line! I also wrote a blog post about “Skin Cycling” with all the products that I love to use.
Your brush makes all the difference! Make sure you’re using brushes meant for cream makeup application. I highly recommend using Seint’s brushes, which are the best I’ve ever used!
For more “full” coverage, use a brush with more dense bristles (like the Seint Buff Brush). For more “light” coverage, use a brush with more fluffy bristles (like the Seint Shape Brush).
If you’re having issues feeling washed out, your makeup is settling in fine lines, your makeup is emphasizing texture & pores, or your makeup is not “melting” into your skin or blending easily - your makeup shade may be too light and using a darker shade would be helpful! (Reach out to me if you need help with this!)
Need help choosing your makeup shades? Let me help you with a color match!
Need help with your application? Reach out to me, and I’d be happy to help.


